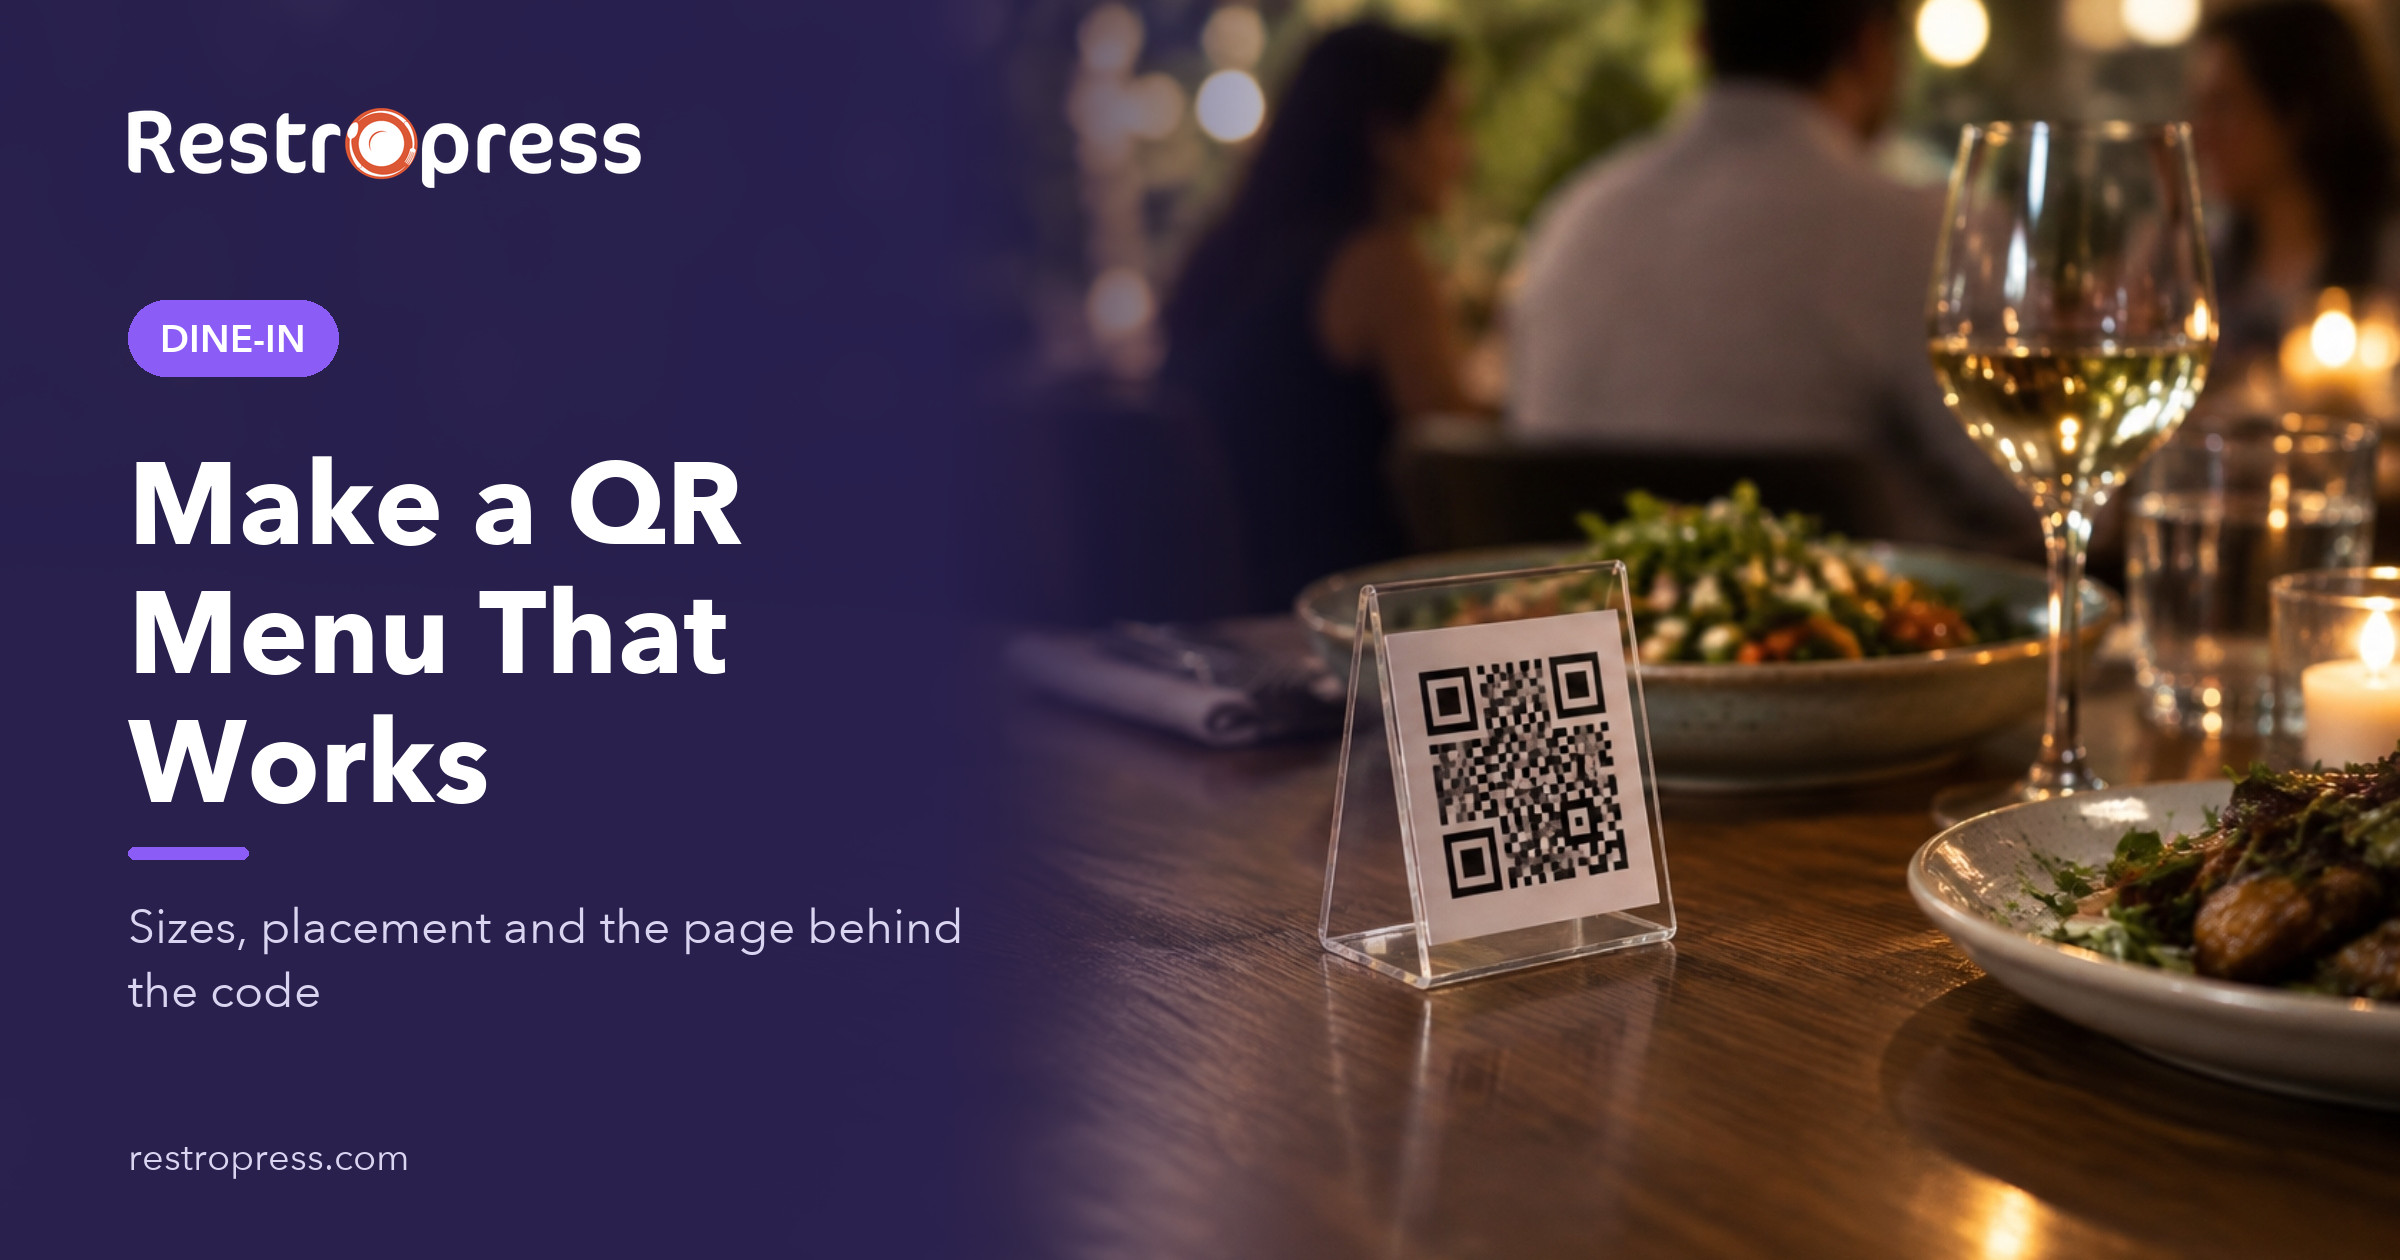
A QR code menu is a printed code on the table that opens your menu on the guest’s phone when they point the camera at it. To make one, put your menu on a web page you control, generate a QR code that points to that page’s address, test it on several phones, and print it at a size people can scan from their seat. The code is the easy part. What decides whether guests like it is the page behind it: how fast it loads, how easy it is to read, and whether you also offer a paper menu to anyone who would rather not scan.
This guide walks through the whole job, from choosing between a view-only menu and full table ordering, to print sizes, placement, accessibility and the mistakes that make guests groan when they see a code on the table.
What a QR code menu is, and what it is not
A QR code holds a short piece of text, almost always a web address. It does not contain your menu. When a guest scans it, the phone opens the address in its browser, and whatever lives at that address is what they see. That has two practical consequences.
- You can change the menu without reprinting the code, as long as the address stays the same. Update a price on the page and every code on every table shows the new price instantly.
- The guest experience depends entirely on the destination. A slow, tiny-text PDF behind a beautiful code is still a bad menu.
There are three levels of QR menu, and it helps to know which one you are building before you start:
- View-only menu. The code opens a page listing dishes, prices and descriptions. Guests still order from a server.
- Menu with a call button. The same page, plus a way to ask for a server or the bill from the phone.
- QR ordering. Guests build an order on the phone, it arrives in the kitchen tagged with their table number, and they may pay from the phone too.
View-only QR menu or QR ordering: which do you need?
Most restaurants searching for a QR code menu want the first level, and that is a sensible starting point. Ordering adds real benefits but also real setup. Use this comparison to decide.
| Question | View-only QR menu | QR ordering |
|---|---|---|
| What the guest does | Reads the menu, then orders with a server | Orders and often pays from the phone |
| Setup effort | An afternoon | Several days, including staff training |
| What you need | A web page and a printed code | An ordering system with table numbers, a screen or printer for orders, a payment setup |
| Effect on staff | Saves printing and wiping menus | Saves the walk to take orders and second rounds |
| Same code on every table? | Yes, one code works | No, each table needs its own code so orders carry the table number |
| Best for | Full-service restaurants, menus that change often | Pubs, cafes, fast casual, busy patios |
A useful rule: if your problem is printing costs and menus that go out of date, a view-only menu solves it. If your problem is guests waiting to order or waiting to pay, you need ordering. Our guide to how QR table ordering works covers the ordering side in depth, so this article focuses on getting the menu itself right.
How to create a QR code menu in 7 steps
This process works whether you use a free generator or a paid platform. The only thing you must own is the web address the code points to.
- Write the menu as text, not as a design file. List categories, dish names, prices, a one-line description, allergens and dietary tags. Text is searchable, resizes on any screen and can be read aloud by a screen reader.
- Publish it on a page you control. The best home is a page on your own website, such as yoursite.com/menu/. If you do not have a website, a menu page on a hosted menu service works, but check what happens to the address if you stop paying.
- Check the page on a phone first. Open it on a mid-range Android phone over mobile data, not on the office Wi-Fi. It should show real content within two or three seconds, with text readable without zooming.
- Generate the code. Paste the page address into any QR generator and choose the URL type. Download it as SVG or high-resolution PNG so it prints sharply.
- Decide static or dynamic. A static code encodes your address directly and never expires. A dynamic code encodes the generator company’s short link, which then forwards to your page. Dynamic codes give you scan counts, but if the subscription lapses, every printed code can stop working. If the code points to a page you own, a static code is all you need, because you change the page, not the code.
- Add a call to action and a fallback. Print “Scan for our menu” next to the code, and the short web address underneath for anyone whose camera will not cooperate.
- Test before you print in bulk. Scan a proof with at least three phones, including an older one, in your actual dining room lighting, from the seat where a guest will be.
PDF, web page or ordering page: where your QR menu should live
The quickest way to make a QR menu is to scan your print menu as a PDF and link to it. It is also the most common reason guests dislike QR menus. A PDF designed for a letter-size page forces pinching and side-scrolling on a phone, can take a long time to download on a weak signal, and is hard for screen readers unless someone has tagged it properly.
| Destination | Phone readability | Easy to update | Accessible | Can take orders |
|---|---|---|---|---|
| PDF of the print menu | Poor, needs zooming | Re-export and re-upload each time | Usually poor | No |
| Image of the menu | Poor | Redesign each time | Very poor, no text | No |
| Menu page on your website | Good if the theme is mobile-friendly | Edit text in your CMS | Good with headings and real text | No |
| Online ordering menu | Good, built for phones | Edit items and prices once for all channels | Good | Yes, if dine-in is enabled |
There is a second benefit to a web page that people overlook. A text menu on your own domain can be found by search engines, so people searching for your dishes before they visit can land on it. A PDF on a third-party server does none of that for you.
If you already take pickup or delivery orders on your website, consider pointing the table code at that same menu. You maintain one set of items and prices, and when you are ready for table ordering, the menu is already in place.
QR code menu size, design and placement
The industry rule of thumb is that a QR code can be scanned from about ten times its own width. It is a guide, not a standard, and glare, low light and angled scanning all reduce it, so round up.
| Where the code goes | Typical scan distance | 10:1 minimum | What to print |
|---|---|---|---|
| Table tent or sticker | 12 to 18 inches | 1.2 to 1.8 inches | 2 inches square |
| Bar counter card | 2 feet (24 inches) | 2.4 inches | 3 inches square |
| Wall poster by the door | 6 feet (72 inches) | 7.2 inches | 8 inches square |
| Front window, read from the sidewalk | 10 feet (120 inches) | 12 inches | 12 to 14 inches square |
Worked example: a guest sits 16 inches from a table tent. Sixteen divided by ten is 1.6 inches. Print 2 inches, which gives a margin for dim evening light and for guests who scan at an angle without picking the tent up.
Design checklist
- Dark code on a light background. Black on white scans best. Brand colors are fine if the contrast stays strong; never print a light code on a dark background unless you have tested it on several phones.
- Leave the quiet zone. The QR standard expects a blank margin around the code of four modules (the small squares). Do not let a border or text touch it.
- Logos in the middle are a risk. QR codes include error correction, so a small logo can work, but every addition reduces tolerance for scratches and glare. Test it.
- Matte, not glossy. Overhead lights on a gloss laminate create a white patch exactly where the camera needs to look.
- Wipeable. Use a matte laminate or a hard acrylic stand. Paper stickers on tables last weeks, not months.
- Say what it does. “Scan to view the menu” or “Scan to order” tells guests what they are getting before they reach for the phone.
Placement checklist
- One code at every seat a guest could reasonably choose, including bar stools and the patio.
- Upright stands beat flat stickers, which get covered by plates and glasses.
- A larger code at the entrance or waiting area so people can browse before they are seated.
- Keep codes away from direct sunlight that fades the print.
Accessibility, and the guests who will not scan
Do not make the code the only menu. In the US Foods 2024 Diner Dispatch survey of more than 1,005 American adults, 90% said they prefer print menus over QR codes, up from 74% the year before, and the preference rose across every age group including Gen Z. That does not mean QR menus fail. It means guests want the choice. Keep a stack of paper menus, and train staff to offer one the moment a guest looks unsure.
The online menu itself should be usable by everyone. The US Department of Justice’s guidance on web accessibility and the ADA (March 2022) states that businesses open to the public must make the goods and services they offer online accessible, and lists common barriers such as poor color contrast and images without text alternatives. For a menu page, that translates into a short list:
- Real text, not an image of text, so screen readers and translation tools work.
- Headings for each category, so a screen reader user can jump from Starters to Desserts.
- Text contrast of at least 4.5:1 against the background, the WCAG level most guidance points to.
- Alt text on dish photos that describes the dish.
- Allergen and dietary information written out, not shown only as colored icons.
- Prices shown as text next to each item, never only inside a photo.
Two groups need extra thought. Guests without a smartphone or with a dead battery need the paper menu. Guests with poor signal need a page that loads quickly, so keep images compressed and the page light.
Common QR menu mistakes and how to avoid them
- Linking to a PDF. Covered above. If you must start with one, replace it with a web page as soon as you can.
- Letting a dynamic code lapse. If you used a paid generator, check what happens to your printed codes when you cancel. Many owners find out after the codes stop working mid-service.
- Prices out of date. A QR menu removes the excuse. Put menu updates on the same checklist as price changes in your POS.
- Codes nobody can scan. Too small, glossy, crumpled or placed under the salt shaker. Re-test monthly.
- Tampered codes. Scammers sometimes stick their own code over a genuine one to send people to a fake site. The FTC warns consumers to inspect the address a QR code opens before trusting it. Protect your guests: print the web address under the code so they can confirm it, use stands that are hard to cover, and have staff check each table at opening.
- A menu that sells nothing. A QR menu is a chance to show photos of best-sellers and suggest add-ons. A plain list wastes it.
- No reason to scan. If the paper menu is on the table and the code adds nothing, few will scan. Use the code for things paper cannot do: today’s specials, sold-out items removed, allergens explained.
A quick cost check
Here is the arithmetic many owners do before switching, using illustrative numbers. Say you reprint 30 laminated menus four times a year at $6 each. That is 30 x 4 x $6 = $720 a year, plus the design time for each round. Thirty matte table tents at $4 each cost $120 once, and a menu page on a website you already pay for adds nothing. You will still keep a smaller stack of paper menus, perhaps 10, which brings the print bill to 10 x 4 x $6 = $240. The saving is real but modest. The bigger win is accuracy: every price and every sold-out item is right on every table, the same day.
Turning your QR menu into table ordering with RestroPress
If your restaurant runs on WordPress, RestroPress lets the same menu serve online ordering and the dining room. With its Dine In extension, the QR menu becomes a table ordering menu without a separate platform. Here is what it does, based on the product documentation:
- A unique QR code per table, generated from the Dine In settings, so each order arrives tagged with the right table. Tables can be grouped by floor.
- No app for guests. The full menu, with categories and add-ons, opens in the phone’s browser.
- Branded, printable QR frames with your logo and your own header and footer text, so the code is obviously yours.
- Call waiter and request the bill from the menu, and guests can follow the status of their order.
- Payment at the table through Stripe, Square, PayPal or Paytm, UPI, or cash settled by staff, and you choose whether guests pay before ordering or when they ask for the bill.
- Staff tools when you want them. The RestroPress Waiter app receives call-waiter and new-order alerts for each waiter’s assigned tables.
Dine In is included in the Business and Agency plans, and it can also be licensed on its own. You can see how it works for guests and staff on the dine-in ordering page, and compare plan inclusions on the pricing page. It is not the right fit if you do not use WordPress or only want a read-only menu; in that case a simple menu page and a static code will do the job for free.
Common questions
How do I create a QR code menu for free?
Publish your menu as a page on your own website, paste that page’s address into a free QR generator, choose the URL option and download the code as SVG or PNG. Because the code points to a page you control, you can update the menu forever without paying for a dynamic code.
Do QR code menus expire?
Static codes never expire; they work as long as the web address they hold still loads. Dynamic codes from a subscription service can stop working if the subscription ends, because they route through the provider’s link.
What size should a QR code be on a restaurant table?
About 2 inches square for a table tent. The rule of thumb is one inch of code for every ten inches of scanning distance, and rounding up allows for dim light and angled scans.
Should my QR menu be a PDF?
Only as a stopgap. A mobile-friendly web page is easier to read, faster to load, simpler to update and far better for guests who use screen readers.
Can a QR code menu take orders?
Yes, if it points to an ordering system that supports dine-in and gives each table its own code. A view-only menu cannot, because it has no basket and no table number.
Next step
If you want your QR code menu to take orders as well, see how RestroPress dine-in ordering turns the same menu into table ordering on your own website, with no commission on orders.