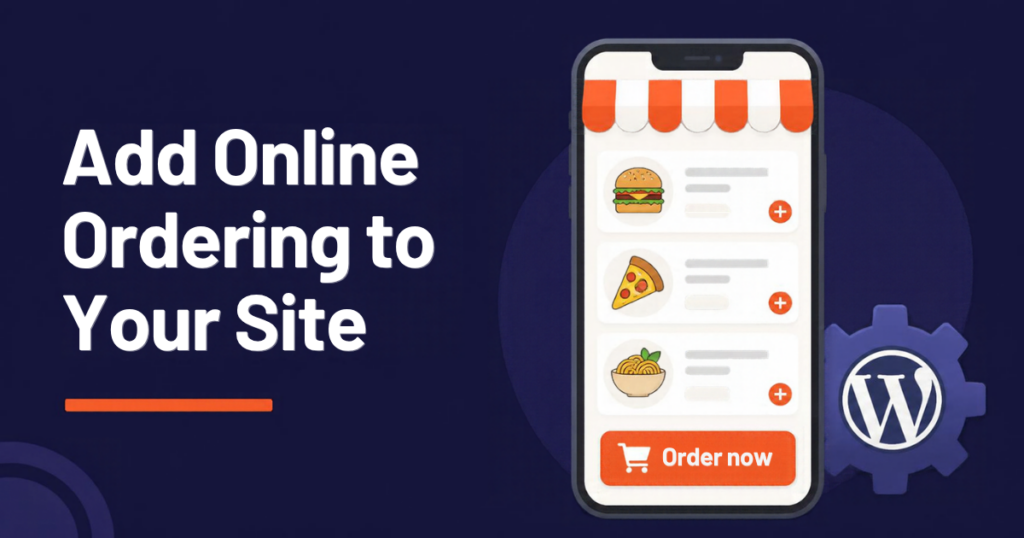
Adding online ordering to a WordPress restaurant website takes an afternoon if you follow the right order of steps and know the traps. This guide walks through the full setup with RestroPress, from a blank WordPress site to a live menu that takes pickup and delivery orders, and shows where to add dine-in, delivery fees and apps later.
Most of the support tickets we see are not about bugs. They are about steps done out of order: payments configured before service hours, menus imported without categories, or a theme that hides the cart. Do the steps below in sequence and you will skip most of them.
Before you start: what you need
- A WordPress site on hosting you control (shared hosting is fine for a single restaurant).
- An SSL certificate (your host usually includes one). Card payments will not work without HTTPS.
- Your menu in a spreadsheet: category, item name, price, description, and any options such as sizes or extras.
- A PayPal or Stripe account in the restaurant’s name.
- Your opening hours, delivery area and minimum order, written down.
Step 1: Install the plugin and run the setup wizard
In WordPress go to Plugins, Add New, search for “RestroPress”, install and activate. The setup wizard asks for your currency, the order types you offer (pickup, delivery, or both), and creates the pages the plugin needs: Food Items, Checkout, Order History and Order Confirmation. Let it create them; you can restyle them later.
Open Settings and set your time zone in WordPress itself (Settings, General). Every “my orders show the wrong time” ticket traces back to this one field.
Step 2: Set service hours before you touch the menu
Go to RestroPress, Settings, Store Timings and set opening hours per day, plus preparation time. Set the order types and whether customers must choose a time slot. Doing this first means the checkout behaves correctly while you test the menu, instead of accepting orders at 3 a.m.
If you close for lunch or on certain days, the Store Timings & Delivery Cutoff extension handles split shifts, holidays and last-order cut-offs.
Step 3: Build the menu
Create categories first (Starters, Mains, Drinks), then add food items. For each item set a price, a short description and a photo. Photos matter more than copy: items with photos get chosen more often, and a phone screen shows two or three items at a time, so the picture is what sells.
Use add-ons for options that change the price (extra cheese, large size) and variations for the same dish in different sizes. Keep add-on groups short; a required group of 15 options is where customers abandon.
Importing from a spreadsheet: RestroPress accepts CSV imports, so if you are moving from another system, export your menu there first and clean the columns in a spreadsheet before importing. Our GloriaFood migration guide covers that export.
Step 4: Delivery area and fees
For pickup-only restaurants, skip this step. For delivery, decide how you charge: a flat fee, a fee by distance or postcode, or free over a minimum. The Delivery Fees extension lets you draw delivery zones on a map or set them by postcode, each with its own fee and minimum order, and it refuses addresses outside your zones at checkout so you are not calling customers to cancel.
Step 5: Connect payments
Start with one gateway. PayPal is built in; Stripe is the most common card gateway and takes Apple Pay and Google Pay on phones. Turn on test mode, place a test order with the gateway’s test card, and check that the order appears in RestroPress with the right total and status. Only then switch to live mode.
Two things to verify at this point: that the order confirmation email arrives (ask your host about SMTP if it does not), and that the “new order” notification reaches whoever runs the kitchen.
Step 6: Put the ordering link where customers already are
Online ordering only works if people find it. Add an “Order online” button to your site header, your Google Business Profile (“Order” link), your Instagram bio and your Facebook page. If you print menus or table tents, add a QR code pointing at the ordering page. A takeaway that only lists the ordering page in the footer will see almost no orders.
Step 7: Get orders to the kitchen
The admin screen works, but nobody in a kitchen refreshes a browser. Pick one of these:
- The Order Tracking app on a phone or tablet: new-order alerts, accept, mark ready, mark out for delivery.
- The Kitchen Display on a screen behind the pass, with orders grouped by status.
- The Print Tracking app to print tickets automatically on a receipt printer.
Whichever you choose, run it for a week alongside your old process before you rely on it.
Step 8: Test like a customer
On a phone, not a laptop: order a pickup, order a delivery to an address at the edge of your zone, apply a promo code, pay with a real card and refund it. Check the confirmation email, the kitchen notification and the order status page. Fix anything that confused you, because it will confuse customers more.
Optional: dine-in with QR codes
Once pickup and delivery work, table ordering is a small step: the Dine-In extension generates a QR code per table, lets guests order from their own phone and call a waiter. We explain the whole flow in how QR code table ordering works.
The checklist
- Install RestroPress, run the wizard, set the WordPress time zone.
- Service hours and preparation time.
- Categories, items, photos, add-ons.
- Delivery zones and fees (delivery only).
- One payment gateway in test mode, then live.
- Order button in the header, Google Business Profile, social bios, QR on print.
- Kitchen app, display or printer.
- Full test order from a phone, including a refund.
Frequently asked questions
How much does it cost to add online ordering to a WordPress site?
The RestroPress core plugin is free and handles pickup and delivery with PayPal. Paid plans that bundle delivery fees, store timings, dine-in and the apps start at $159 a year for one site; see pricing. There is no commission per order.
Do I need WooCommerce?
No. RestroPress runs its own menu, cart and checkout. If you want to compare it with WooCommerce-based plugins, read our plugin comparison.
Can I take orders without a payment gateway?
Yes. Cash on delivery and pay at pickup are built in, which is a sensible way to go live on day one and add card payments once the kitchen process is settled.
Will it work with my theme?
RestroPress works with standard WordPress themes. If your theme hides the cart or breaks the checkout layout, the support team can usually point to the CSS rule responsible; it is the most common first-week question.